
The Harley Trailer Project
My wife and I decided on a motorcycle camping trip for our vacation this year. The only problem was carrying enough gear for 2 people for 7 days. My research on the internet led me to Robert Whites web page (http://www.robertawhite.com/piggybacker.htm), several motorcycle trailer discussion boards and the a little trailer gem called PiggyBacker (http://piggybacker.stehltow.com).
I won't repeat a lot of the information on their pages but the highlights for me were the PiggyBacker trailer for around $600.00, the Hoppy power module for the trailer lights around $60 (Google Hoppy trailerLights for resellers) and a neat harness coupler from camarostroker on eBay for $30.
A hitch for my FatBoy was the most challenging part of this project. I only found one hitch for Softails from HitchDoc. It was expensive and I don't think it would have the lateral strength I needed but they have very good stuff for other bikes. So I made my own hitch and most of the pictures below are from that. It was fun building it although it took many hours of fabrication and thought.
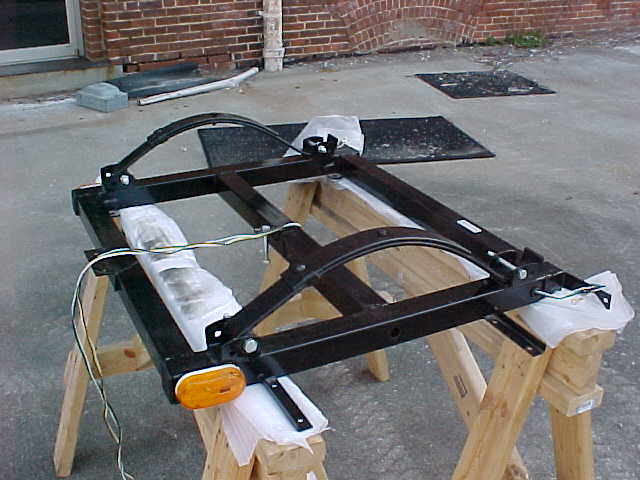
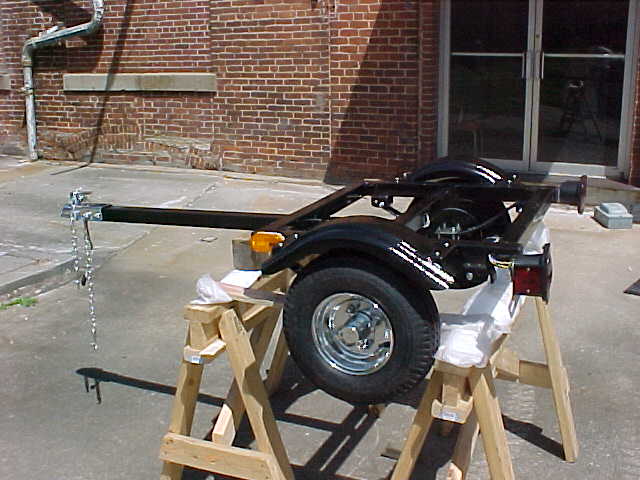
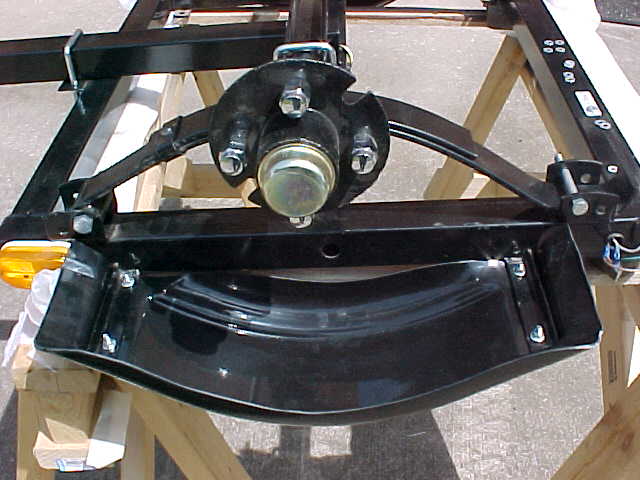
The pictures above are just a few from the CD that came with the trailer, it made assembly easy but it was not complicated to put together in any event. The only thing I changed was welding the square tubing tongue to the main trailer box/chassis. The whole box unit is welded from the factory and I think they would have welded the tongue too but shipping would be a problem. It came with U-bolts and a center bolt to attach it and I'm sure that would be fine but I had the opportunity at this point to weld it.
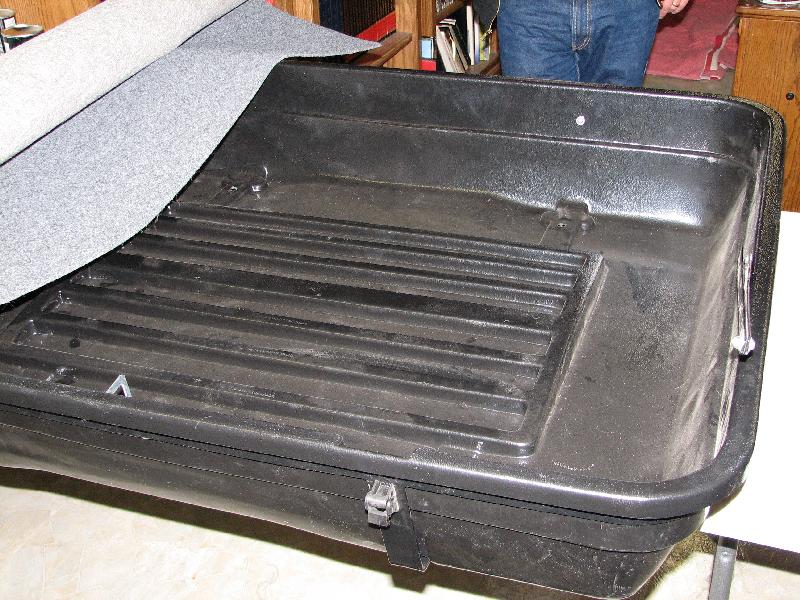
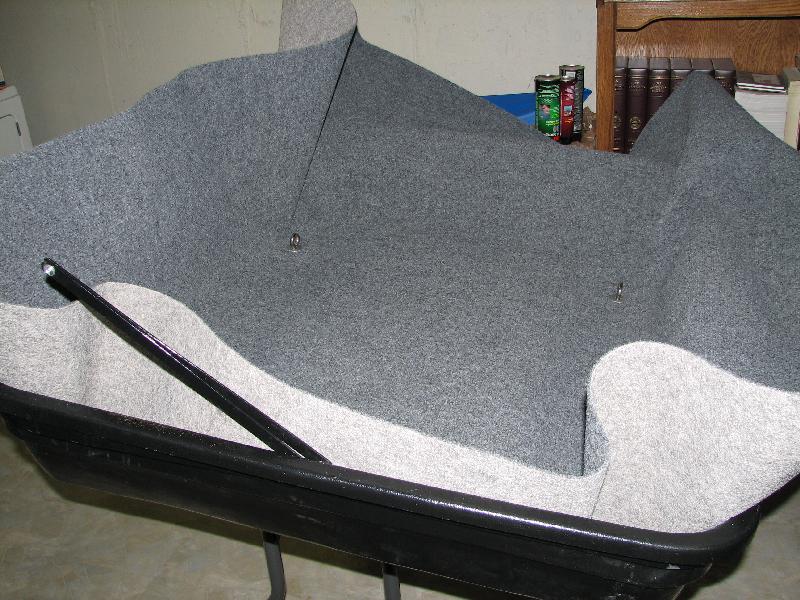
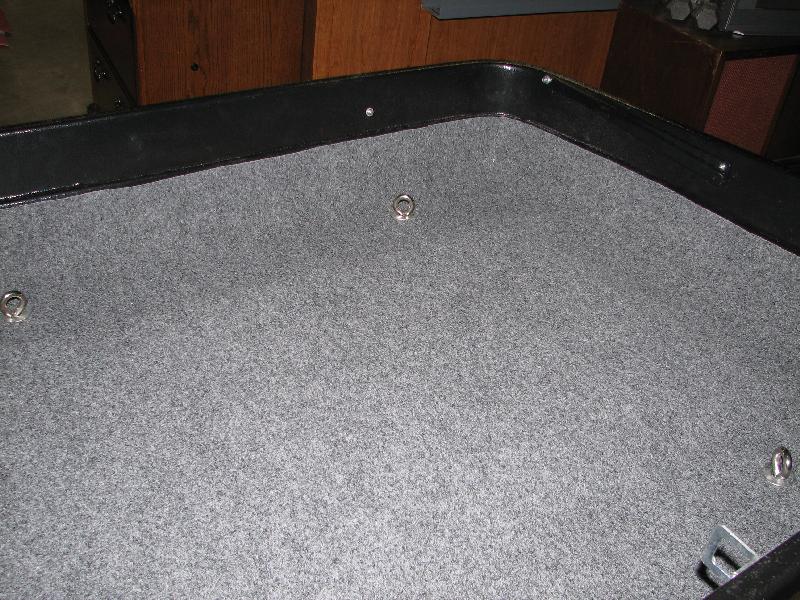
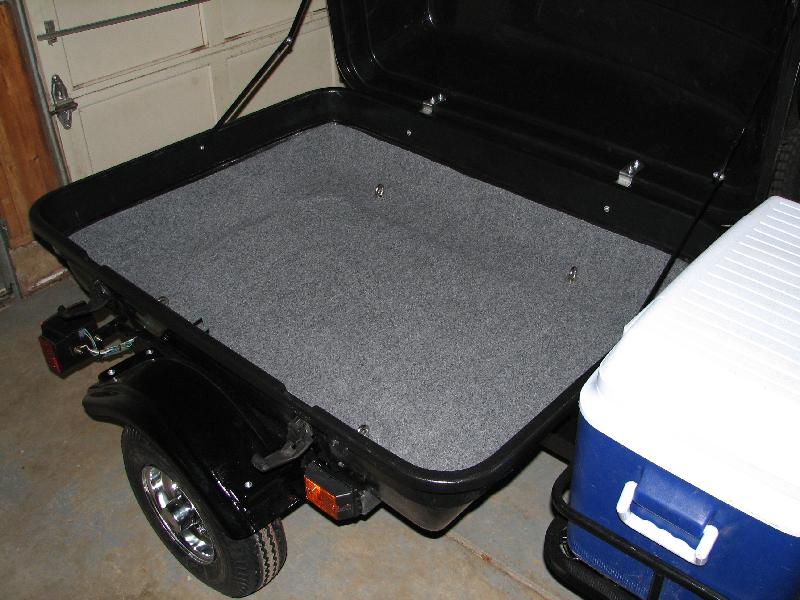
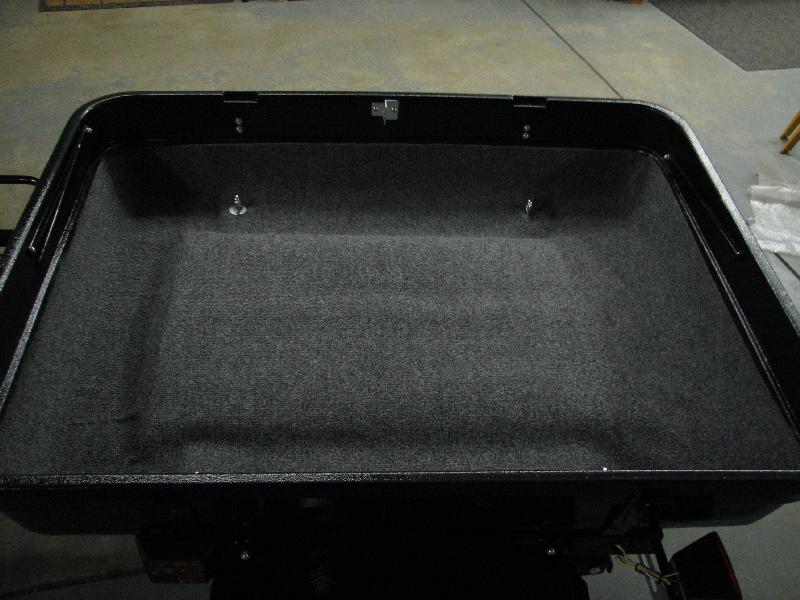

The trailer kit comes complete but we added carpet and eye-bolts inside then we added LED lights on top for better visibility (I later added large LED lights on the bottom too and it made a HUGE difference in visibility). I made the upper lights wiring harness a connector (top/bottom) so I could remove the top easily if I wanted. The PiggyBacker came with a spare tire, U-bolt mount, a stand, spare bearings, races and latching hardware. I really like these folks.
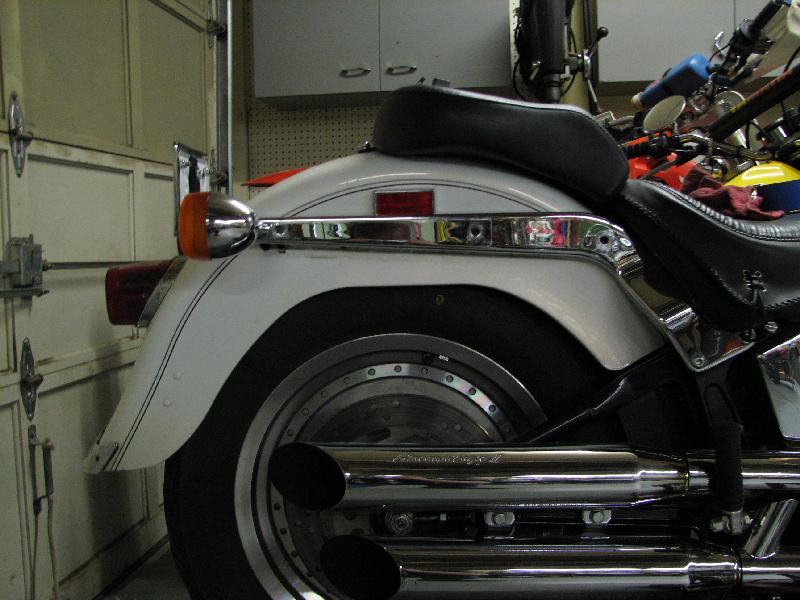
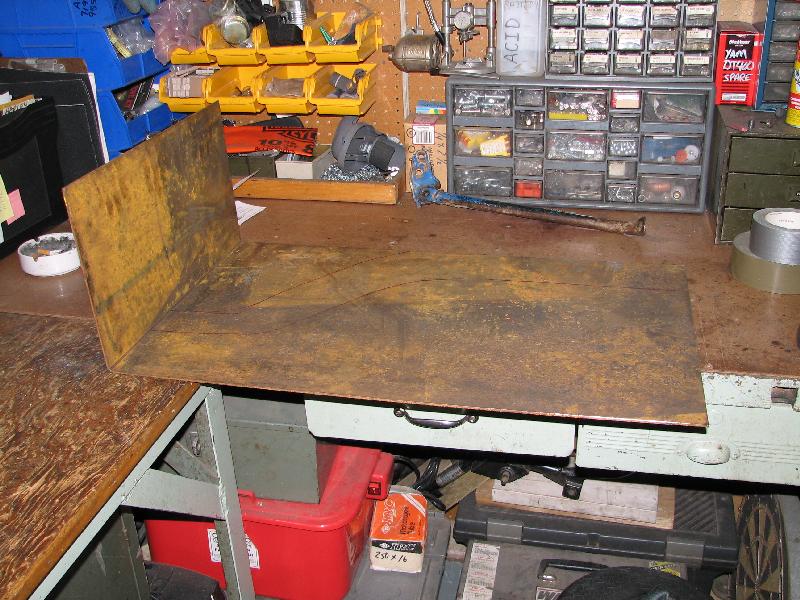
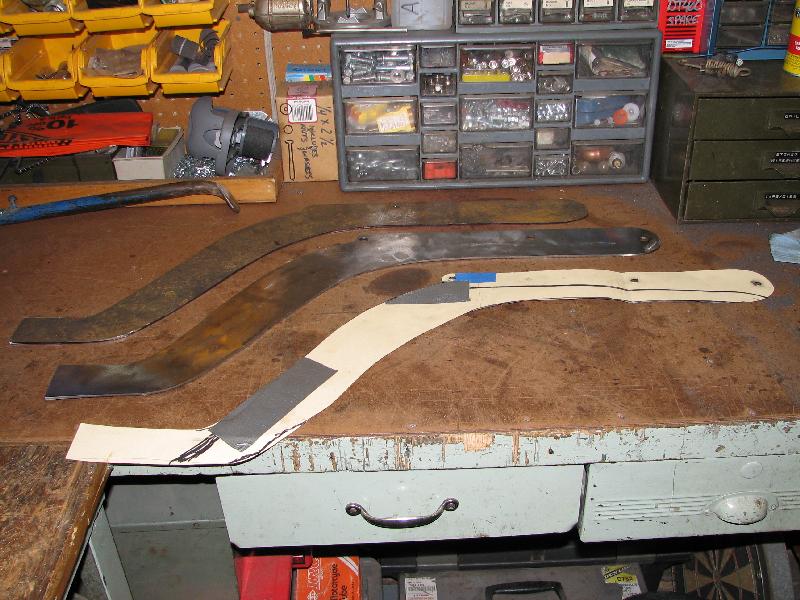
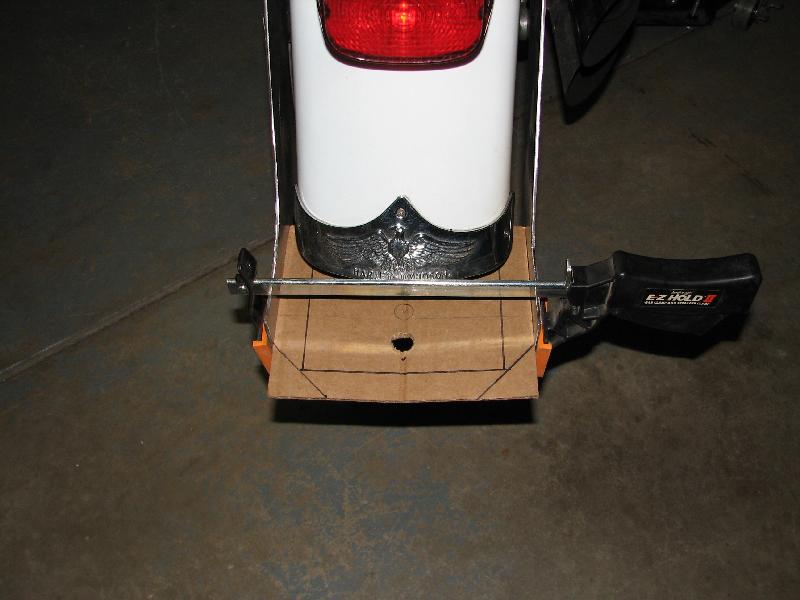


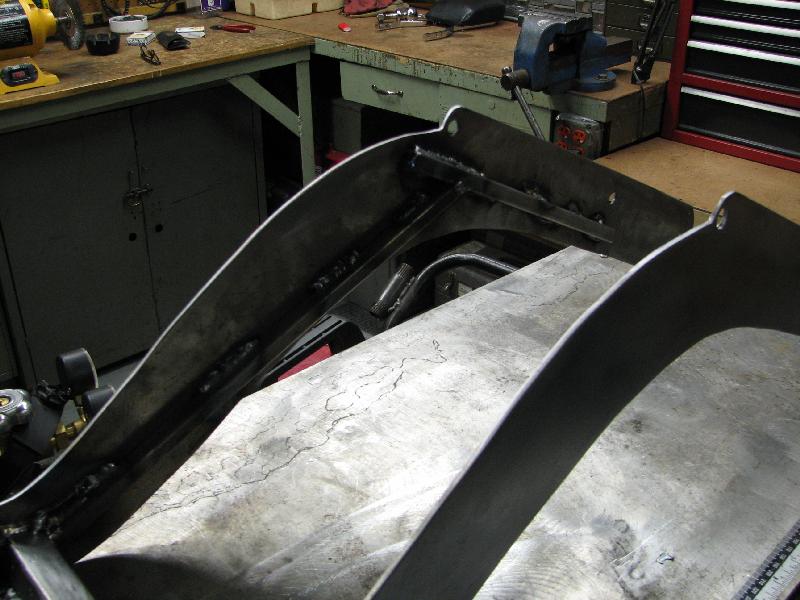


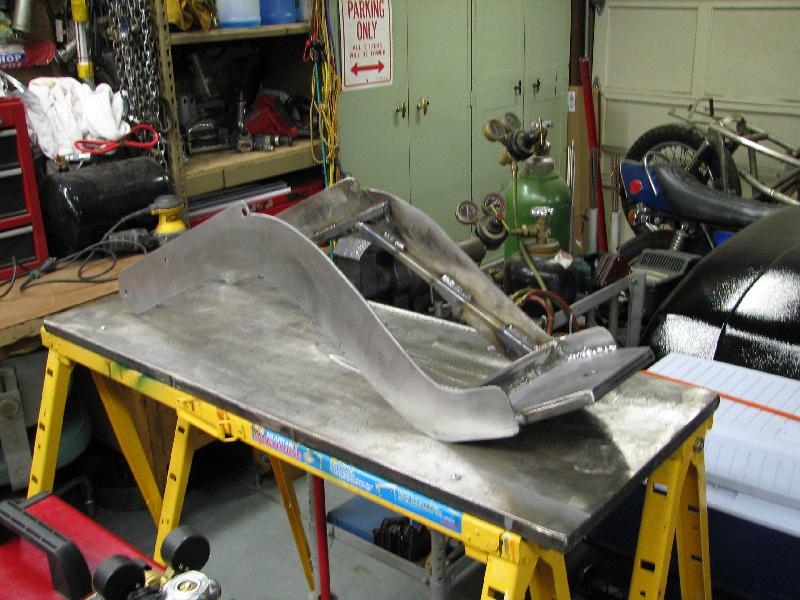
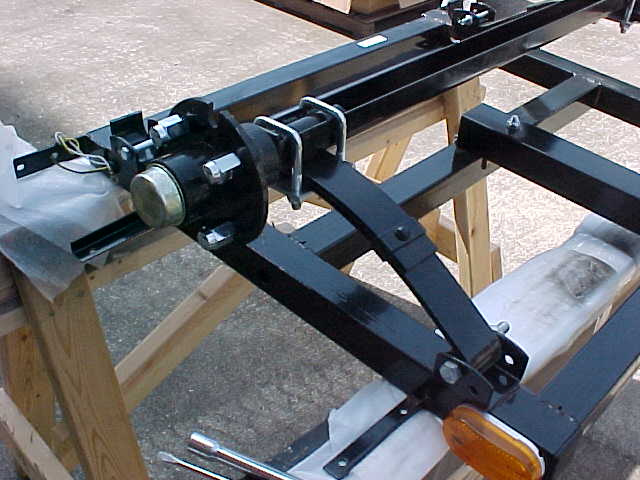
There's no easy way to attached a hitch to a Softail BUT the sub-frame extension that the rear fender attaches to is massive. It's welded to the main frame - I mean Harley made this thing BEEFY so I had my attachment spot for the hitch. I bought some used 1/16" plate steel and got to it. Making cardboard template(s) until I found the right design. Cutting the plate and making a base using 1/2" 16gauge square tubing. My design was great in looks but there was lateral movement as I suspected. When I laid out my dimensions I made it wide enough so I could add 1/2" square tubing in the inside of the hitch assembly between it and the fender - which I ended up doing and that did the trick. Everything was MiG welded in my shop and I've load tested this on a very rough and bumpy freeway with five 80lb sacks of cement - it does NOT move.

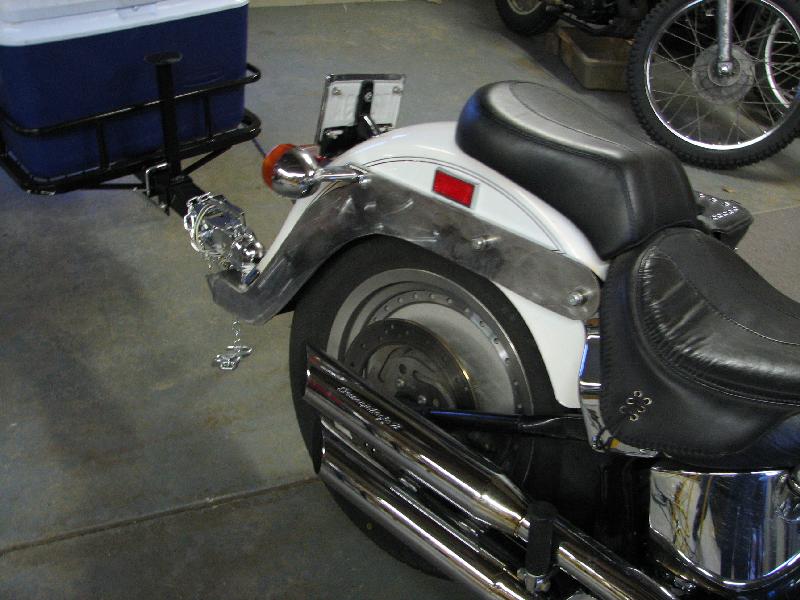
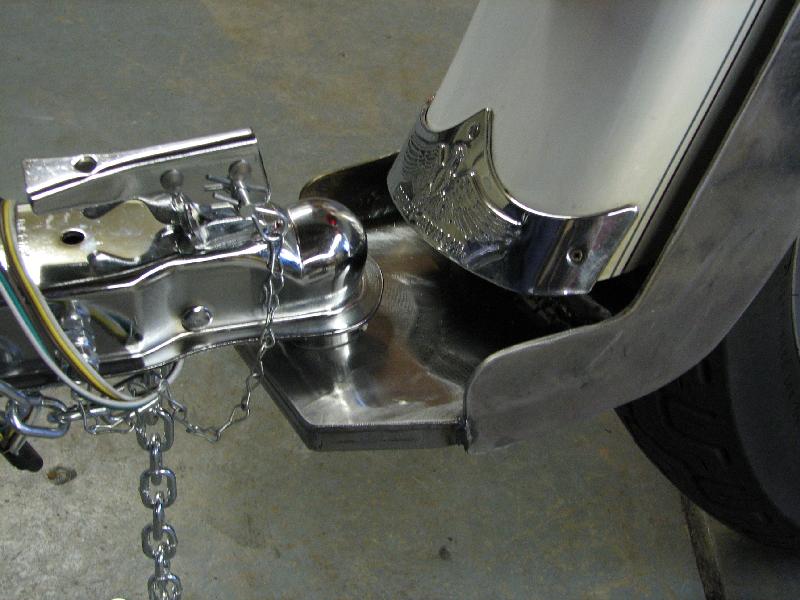
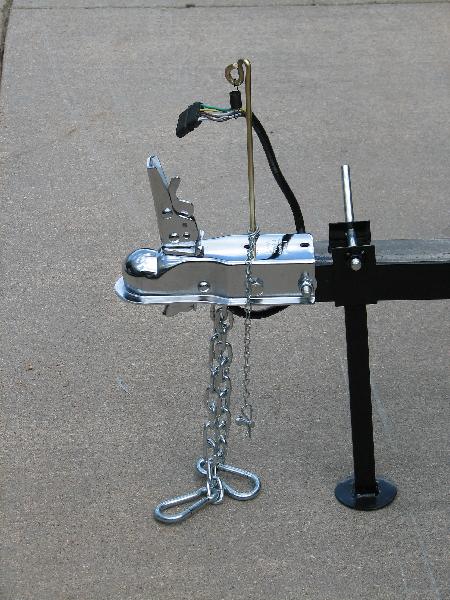
Here's the finished hitch. I spent a lot of time checking height, width and stress points. I got it right the first time but it took a lot of careful checking during the fabrication process. I had the whole thing nickel plated for $60, I thought it would look better than powder coating. The only reason I would do either is for rust prevention.
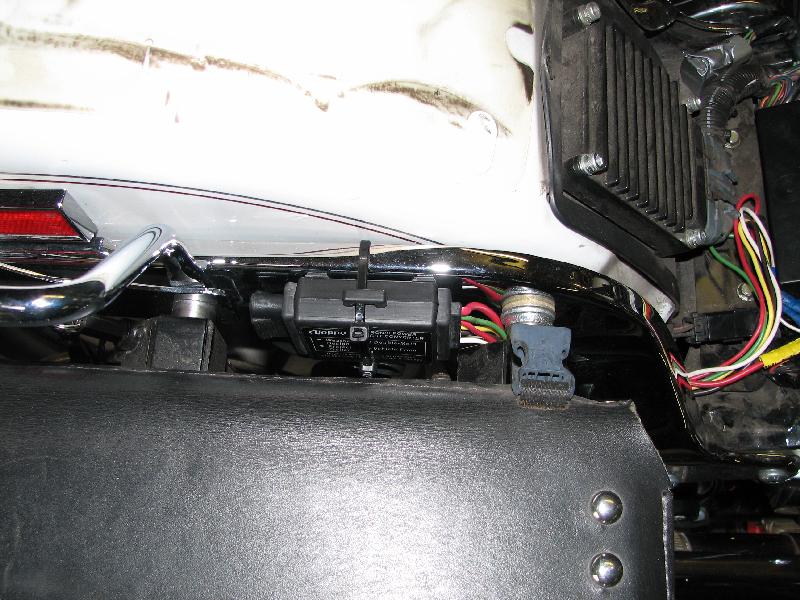


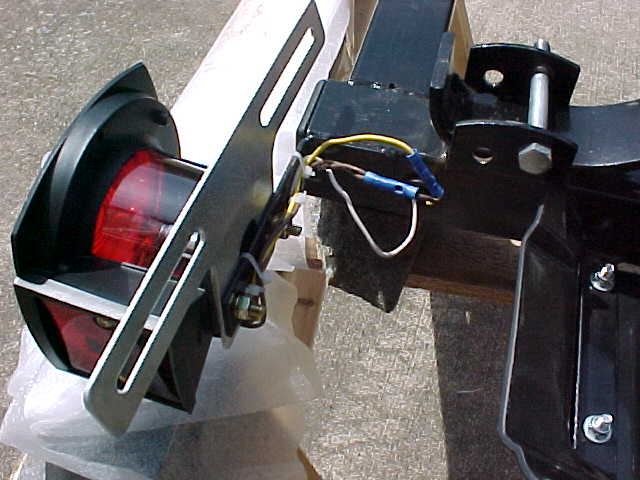
Here's the Hoppy light module connected and mounted along side my hitch. It mounted perfectly between the saddlebag and hitch. The middle picture is with the in-line harness connector from camarostroker I found on eBay. Now if anyone can splice wiring and do it right - it's me! But for $30 the coupler was too good a thing not to use.

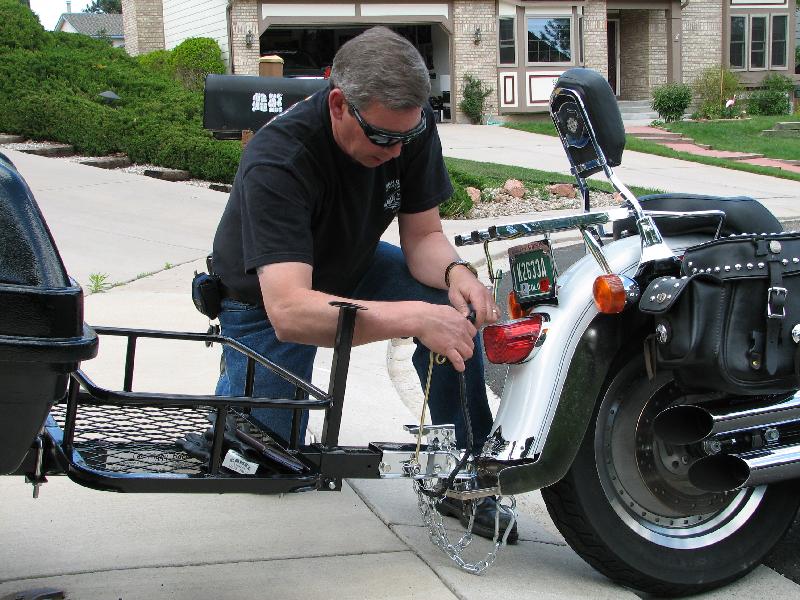
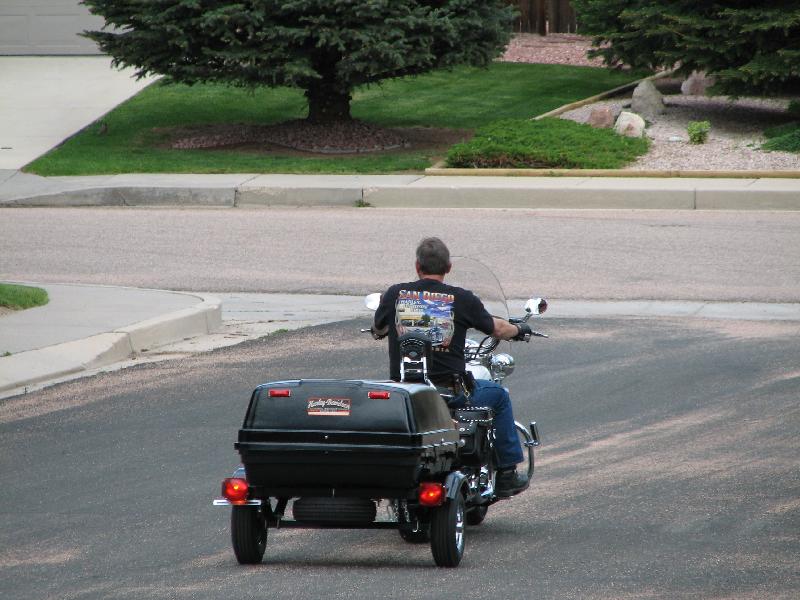

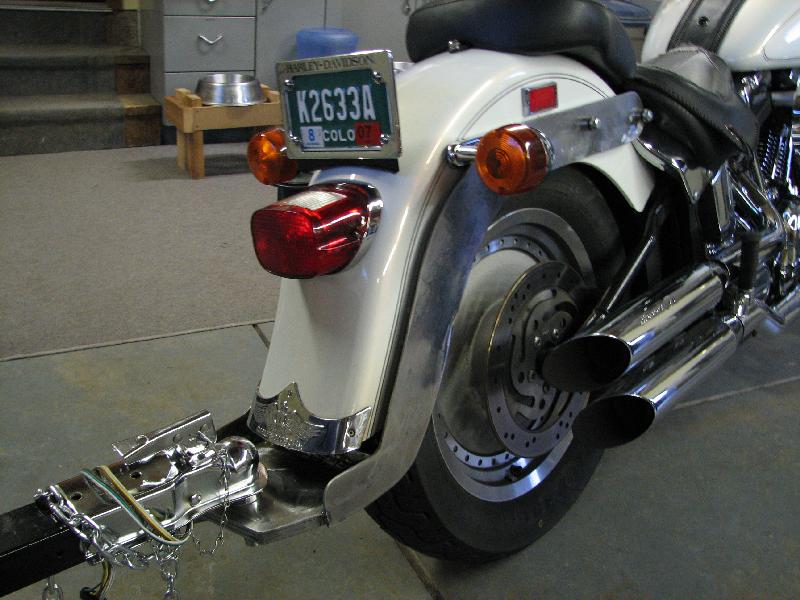
Finished. I dig the spring attached harness connector! Final hookup and off I went.
The End. Summer 2007. bb